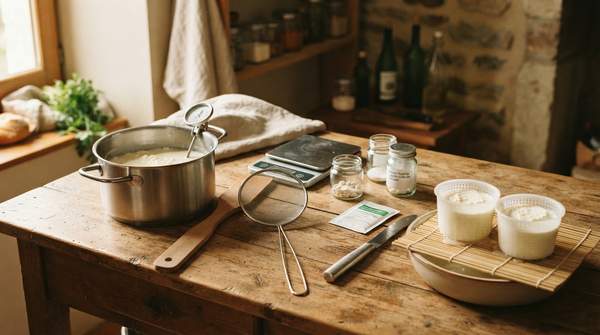
You can start making cheese at home with a handful of tools you almost certainly already own. Multiple cheesemaking suppliers agree on this point: a large pot, an accurate thermometer, and something to drain curds through form the true core of a beginner's setup. Specialized molds, presses, and curd knives are genuine upgrades—but they are upgrades, not entry requirements. This guide separates the must-haves from the nice-to-haves and explains exactly what to look for when you do buy new.
Starting Your Cheesemaking Journey: Essential Tools for Beginners
The biggest obstacle for most beginners isn't skill—it's the assumption that cheesemaking demands a whole new kitchen. Writing at Ninnescah Made, Megan Austin admits she put off the hobby for exactly this reason, believing she needed a dedicated cheese cave, specialty molds, and separate sterile pots. Her conclusion after actually making cheese: "You can make really good cheese with simple equipment you probably already have."
New England Cheesemaking Supply Company makes the same case in its beginner's guide: with simple ingredients and "equipment you already have on hand," you can make cheese in your own kitchen. The scope here matters, though. This guidance applies to simple fresh cheeses and beginner-level hard cheeses—not advanced techniques, and not aging equipment like cheese caves. Ingredients such as milk, cultures, and rennet are a separate shopping trip entirely.
Essential Cheesemaking Tools: Must-Haves vs. Nice-to-Haves
The clearest way to plan your setup is to sort tools by their role in the core process. Cultures For Health publishes a beginner supply list of seven essential tools; Cheese Grotto's equipment journal adds items like strainers and long knives. Synthesizing these, the table below separates items you cannot make cheese without from items that simply make the process easier or enable harder cheeses. Check your kitchen against the must-have column first—most of it is probably already in your cupboards.
| Tool | Category | Primary Function | Selection / Improvisation Tips |
|---|---|---|---|
| Large stock pot | Must-have | Heats milk and cooks curds | Stainless steel or unchipped enamel; big enough for 2 gallons of milk plus stirring room |
| Thermometer | Must-have | Precise temperature control of milk and curds | Must be reliable and accurate; clip-on styles are convenient |
| Cheesecloth or butter muslin | Must-have | Separates whey from curds | Butter muslin is washable and reusable; plain cheesecloth is single-use |
| Strainer or colander | Must-have | Holds the cloth while curds drain | Any kitchen strainer works—line it with cloth |
| Slotted spoon or skimmer | Must-have | Scoops and stirs curds | Household slotted spoon is fine |
| Long knife | Must-have for cut-curd recipes | Cuts curds evenly | An eight-inch chef's knife works, per Cheese Grotto |
| Large metal bowl | Nice-to-have | Catches whey; holds hot water for mozzarella | Improvised easily from what you own |
| Cheese molds and basket forms | Nice-to-have | Shapes pressed cheese | Needed mainly for harder cheeses; fresh cheeses can drain in cloth |
| Cheese press | Nice-to-have | Presses moisture from hard cheese | For advanced hard cheeses; beginners can improvise weighting at home |
| Cheesemaker's notebook | Nice-to-have | Records each batch | Any notebook works; New England Cheesemaking calls these "treasured" |
Read down the must-have column and the pattern is obvious: everything there is standard kitchen equipment. That is the budget-friendly insight Austin emphasizes—decide where to splurge and where to save, rather than buying everything at once.
Choosing Your Pot: Material, Size, and Heat Distribution
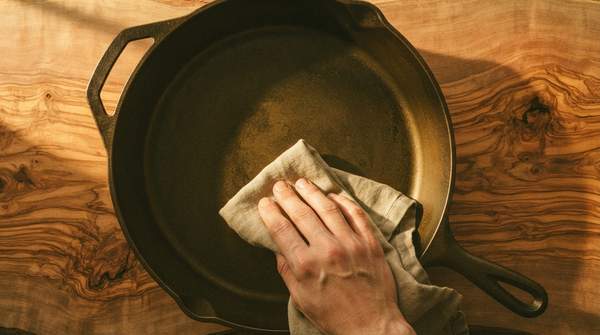
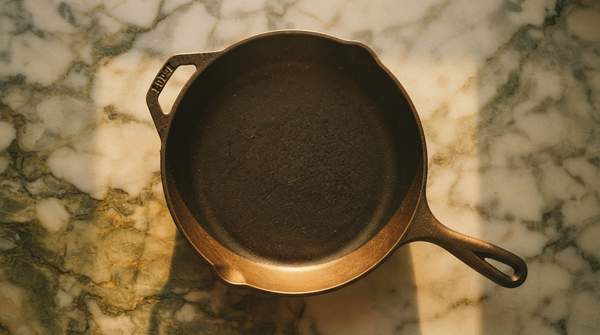
Your pot is the single most consequential purchase, and the material advice is remarkably consistent across sources. Cultures For Health recommends stainless steel or unchipped enamel and says to avoid aluminum and other reactive metals. Urban Cheesecraft adds glass to the approved list and warns that the acids in cheesemaking can corrode thin or old-fashioned aluminum and cast iron, giving your cheese an unpleasant metallic flavor. Importantly, it notes an aluminum or cast-iron core is fine as long as the coating keeps the metal from touching the milk.
Why does this matter so much? Milk is mildly acidic and acidifies further as cheesemaking proceeds, which HobbyStack explains makes pot material "a real decision rather than a preference." Bare aluminum can discolor, pit, and transfer metallic taste. The base matters as much as the material: thin bases create hot spots where milk scorches, so choose the thickest base you have. If your only pot is thin, a water bath can compensate.
Size follows the same logic. Many recipes call for 2 gallons of milk plus roughly a cup of additional ingredients, and Cultures For Health advises the pot should hold that with comfortable stirring room. A wide pot also beats a tall one, since you need to cut curds evenly across the whole surface.
Selecting an Accurate Thermometer
Temperature control is where cheesemaking stops being casual cooking. Cultures For Health is blunt: the thermometer "must be reliable and accurate," because recipes depend on specific temperatures and culture activity depends on hitting them. An inaccurate thermometer quietly sabotages batches in ways that are hard to diagnose later.
The good news is that a suitable thermometer is inexpensive. Cultures For Health sells both a basic model and a waterproof digital version, and notes that some brands include a clip for attaching to the side of the pot—handy for continuous reading while you stir. A standard kitchen instant-read thermometer will also do the job if it reads accurately; the clip is a convenience, not a requirement. Calibrate your confidence before your first batch, not after.
Cheesecloth and Alternatives for Draining Curds
Draining curds is the step that turns cooked curds into cheese, and it requires a fine weave. Cheese Grotto lists cheesecloth for recipes like paneer but immediately flags its weakness: "since cheesecloth is a single-use material, we typically recommend butter muslin, which can be washed, sanitized, and reused." That reusability makes butter muslin the better long-term buy, even though the upfront cost is a little higher.
Whichever cloth you use, the technique is the same: line a strainer or colander with it, set it over a bowl or pot to catch the whey, and pour in the curds. Urban Cheesecraft notes that a quality stockpot is especially useful at this stage too—the same pot heats the milk and receives the whey. Fine-weave fabric alternatives can substitute in a pinch, but the weave must be tight enough to hold small curds, so test with water before trusting a batch to it.
Nice-to-Have Tools: Enhancing Your Cheesemaking Experience
Once the essentials are in place, the upgrades are genuinely useful for specific cheeses. A large metal bowl catches whey and holds the hot water you need for stretching mozzarella. Basket forms give fresh cheeses their classic shape. Molds and presses matter for harder cheeses, where shaping and pressing remove moisture that cloth-draining alone cannot. Standing Stone Farms stocks skimmer spoons and molds among its supplies for exactly these purposes.
One upgrade costs nothing: a notebook. New England Cheesemaking's equipment guide describes a cheesemaker's notebook as "a treasured item," with tattered books lining its shelves. Recording milk, temperatures, and timings each batch lets you reproduce successes and diagnose failures. None of these items will make your first fresh cheese better, but they will make your tenth batch better.
Your First Cheese: Getting Started Confidently
Begin home cheesemaking by assembling the must-have tools, prioritizing a suitable pot and accurate thermometer, and improvising the rest before investing in specialized equipment. Walk your kitchen first: most people find the pot, thermometer, strainer, slotted spoon, and knife already exist in their drawers. Buy butter muslin if you must buy anything at all, and defer molds and presses until a specific recipe demands them.
Your measurable indicator of success is concrete: successful coagulation and draining of curds in your first batch of simple cheese. When curds set cleanly, cut evenly, and drain through your cloth into clear whey, your toolkit is proven functional—and you'll know exactly which upgrade, if any, your next batch actually needs.
Sources
- Cheesemaking Equipment for Beginners (Simple Home Setup That Actually Works) — Ninnescah Made
- How to Make Cheese at Home: Beginner’s Guide — New England Cheesemaking Supply Company
- 7 Essential Tools for Making Homemade Cheese: A Supply List for Beginners - Cultures For Health
- All the Equipment and Ingredients You Need to Make Cheese at Home — Cheese Grotto
- Equipment for Cheese Making — New England Cheesemaking Supply Company
- What kitchen equipment do I need for making homemade cheese? — Urban Cheesecraft
- Best Pot for Cheese Making 2026: Why Ply Matters — Hobbystack
- Cheese Making Supplies — Standing Stone Farms