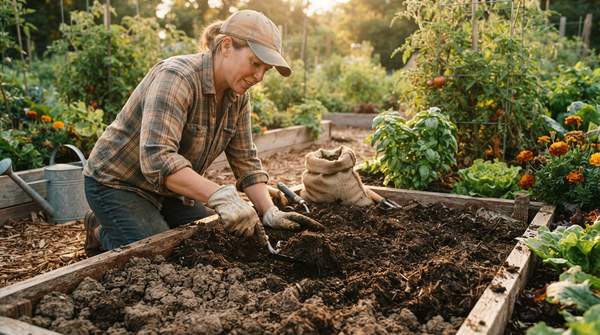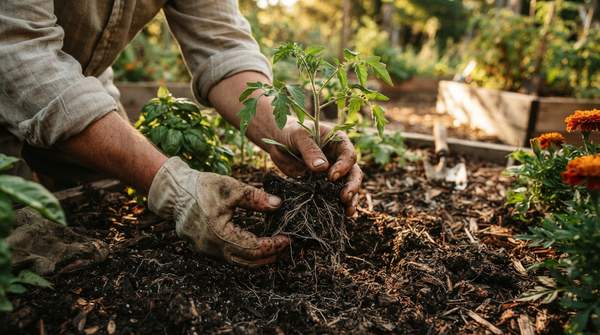
For most home vegetable gardeners, no-dig gardening is the easier path to healthy soil and fewer weeds: you leave the soil undisturbed, feed it from above with compost, and let worms and microbes do the work a spade used to do. The method, popularized by British market gardener Charles Dowding, contrasts sharply with traditional tilling, which breaks up the soil and, in Dowding's telling, brings dormant weed seeds to the surface where light triggers germination. His long-running Two-Bed Trial has been consistent for over a decade: for the same amount of compost applied, the no-dig bed gives 12% more food. This guide compares the two methods, explains the soil science, and walks you through building your first no-dig bed on lawn or weedy ground.
No-Dig vs. Traditional Tilling: A Comparative Overview
The core difference is disturbance. Traditional tilling breaks soil into pieces to prepare it for planting; no-dig gardening covers the surface instead, smothering existing vegetation with cardboard and a generous layer of compost. Dowding argues the case for no-dig comes down largely to time saved, and in particular reduced weed pressure. A thick mulch of compost blocks the sunlight weed seeds need to germinate, but the effect goes deeper than simple smothering.
As Dowding explained to Northern Gardener, weeds are less common in no-dig beds "not only because of a smothering effect from compost, but also because undisturbed soil does not need to grow weeds to recover. Weeds grow for a reason and part of it is to heal damage done by cultivation." He points to chickweed as a common weed that pops up after tilling: the soil has been broken into pieces, and the chickweed roots are working to knit it back together. In other words, the digging itself invites the weeds that follow it.
There is a carbon cost to digging, too. In Dowding's trial beds, soil samples measured 14% carbon in the dug bed compared with 18% in the no-dig bed next to it — a 4% loss he attributes to cultivation. No-dig soil also holds water better, reducing how often you need to irrigate, and the compost mulch supplies nutrients that, as he describes them, are not water-soluble, reducing the need for fertilizer. The comparison below gathers these trade-offs side by side.
No-Dig vs. Tilling: A Gardener's Decision Matrix
| Factor | No-Dig Gardening | Traditional Tilling |
|---|---|---|
| Initial Setup & Effort | Cover existing weeds or grass with cardboard and add a generous layer of compost — no digging. You can start with very little compost, though more makes it easier and increases harvests immediately and in later years. | Requires physically breaking and turning the soil before planting, disturbing the ground you then have to manage. |
| Ongoing Labor (Weeding & Watering) | Fewer weeds because seeds are not brought to the surface, and improved soil structure retains moisture, so less watering. Leaving compost on top saves the annual work of digging it in. | Can bring dormant weed seeds to the surface, promoting germination and often necessitating more frequent weeding after initial preparation. |
| Long-Term Soil Health | Improves each year by feeding the soil food web and maintaining an undisturbed honeycomb structure of small air passages that benefit roots. | Disrupts soil life, health, and natural structure; repeated disturbance can degrade the soil food web over time. |
| Weed Suppression | Compost mulch blocks light from weed seeds, and undisturbed soil has no cultivation damage to repair, so fewer weeds emerge. | Cultivation itself can trigger weed growth as plants like chickweed move in to heal broken soil. |
Read across the rows and a pattern emerges: tilling front-loads effort into soil preparation and then generates follow-up work in weeding, while no-dig front-loads material — compost and cardboard — and then reduces the workload year after year. The one genuine constraint is compost supply. Dowding is explicit that you can start with very little, but access to more makes the method easier and increases harvests both immediately and in subsequent years.
The Science Behind No-Dig: Building Healthy Soil
Why does leaving soil alone make it better? The answer lies in structure and biology. Undisturbed soil, Dowding explains, develops and maintains a honeycomb structure of small air passages — a network that roots, water, and air can move through freely. That structure is destroyed when soil is broken apart, and it takes time and biological activity to rebuild. Feeding the surface annually with about 2.5cm (1in) or so of compost keeps that structure fed and functioning, because the organic matter sustains the soil food web — the worms, fungi, and microbes that mix nutrients downward and hold the honeycomb together.
This is where the method earns its reputation across soil types that seem nothing alike. At Dowding's current garden, Homeacres, the soil is dense silt, and he reports that everything roots into it. His first garden, created in autumn 1982, sat on Cotswold brash — very stony ground — and no-dig was successful there as well. The common thread is not the texture of the soil but the treatment: whether the ground is silty, stony, or heavy, the undisturbed honeycomb structure and an annual compost feed allow roots to find their own paths rather than being handed a temporarily broken-up seedbed.
The moisture benefit follows from the same logic. A honeycomb structure with intact air passages holds and channels water rather than letting it pool or run off, and the compost surface layer shields the soil below. That is why Dowding's no-dig beds need watering less often than their dug counterparts. The weed suppression compounds the effect: fewer weeds means less competition for that stored moisture, and less time on your knees pulling chickweed out of soil that is only trying to heal itself.
Step-by-Step: Establishing Your First No-Dig Bed
Building a no-dig bed on weedy ground or lawn is a layering exercise, not an excavation. Kellogg Garden Products, which publishes its own beginner instructions for converting grass, recommends starting with a location that is fairly level and receives as much direct sunlight as possible — five or more hours a day. The spot can sit within raised beds, over grass, or even on top of concrete, which tells you how little the existing ground matters.
- Choose your spot and size. Dowding advises beginners to start small with just one bed, around 1.2 x 2.4m (4 x 8ft). Pick a level, sunny position; if the ground is uneven, level it by scraping soil from high spots into hollows with a sharp spade, or fill the hollows with bought-in soil.
- Prepare the ground — no tilling required. Mow or flatten tall vegetation if needed, but do not dig. The existing weeds and grass stay in place to be smothered.
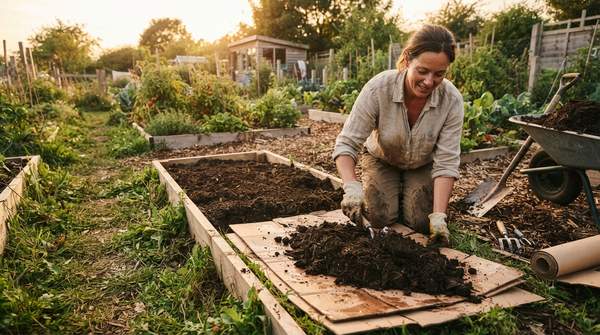
- Apply a smother layer. Lay cardboard (or a similar light-blocking material) over the grass or weeds, overlapping the edges so no light reaches the vegetation beneath. This kills the growth below without disturbing the soil.
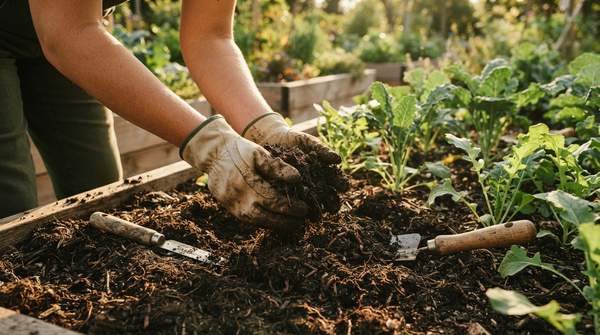
- Add the compost layer. Spread a generous layer of compost on top of the cardboard. More compost makes the first season easier and increases harvests, but Dowding stresses you can start with very little and improve from there.
- Plant and mulch. Plant directly into the compost, and thereafter maintain the bed by adding about 2.5cm (1in) of compost each year — never digging it in, just leaving it on the surface for the soil food web to pull down.
The whole process can be finished in an afternoon, and the payoff compounds: each undisturbed year deepens the honeycomb structure, and each compost feed feeds the biology that maintains it. This guide covers home vegetable beds specifically; large-scale no-till farming and detailed compost sourcing are separate topics beyond its scope.
Making the Switch: Your No-Dig Action Plan
Adopt the no-dig method for home vegetable gardening to improve soil health, reduce weeding, and simplify garden maintenance. Lay cardboard over your chosen patch, cover it with as much compost as you can gather, plant, and then feed the surface annually rather than ever turning the soil again. You will know the method is working by a measurable indicator: a noticeable reduction in weed growth and improved soil texture — crumbly, darker soil — within the first growing season. If those two signs appear, the honeycomb is building beneath your feet, and the second year will be easier than the first.